Team Setup
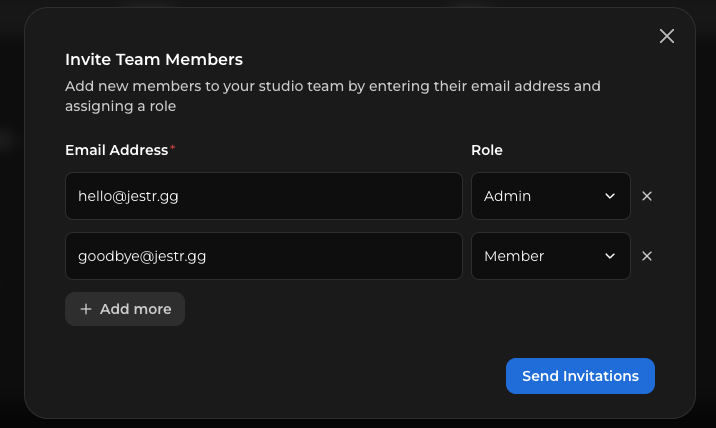
If multiple people from your studio will be using Jestr, you can invite them to your studio account and control their level of access.
This makes it easy to give campaign managers the ability to actively manage campaigns while still giving other stakeholders access to campaign performance and data.
Invite a team member
You can invite additional team members directly from your studio dashboard.
- Open the Teams tab.
- Select Invite Member.
- Enter the team member's email address.
- Choose their role.
- Send the invitation.
Once they accept the invitation, they'll be able to access your studio on Jestr according to the permissions you've assigned them.
Team roles
There are currently two roles available for studio team members: Admin and Member.
| Admin | Member | |
|---|---|---|
| View campaigns | ✓ | ✓ |
| View campaign data | ✓ | ✓ |
| Manage games | ✓ | — |
| Manage campaigns | ✓ | — |
Admin
Admins can actively manage your studio's games and campaigns.
This role is best for people who will be directly involved in setting up, launching, or managing campaigns on Jestr.
Member
Members have view-only access to campaigns and campaign data.
This role is useful for people who need visibility into campaign activity and performance without needing to make changes.
Choosing the right role
As a general rule, only give Admin access to team members who need to actively manage your games or campaigns.
For stakeholders who primarily need to monitor campaigns or review performance, Member access will usually be enough.
You can manage your studio's team from the Team tab of your dashboard.
That's it for Getting Started
Your studio account is ready to go.
From here, the next step is creating your first campaign. Campaign Setup walks through the entire process, from adding your game and configuring your campaign to adding assets, completing Jestr's review process, and launching it to creators.
Continue to Campaign Setup to get started.