Creating a Campaign
Once you've added your game to Jestr, you're ready to create a campaign.
In the sidebar of the studio dashboard, click New Campaign to open the campaign setup form.
Campaign setup brings together everything creators need to understand your campaign, participate in it, and create content for your game.
This guide walks through each section of the setup process at a high level. For more information about individual settings and how to configure them, follow the links to the relevant Core Concepts pages throughout this guide.
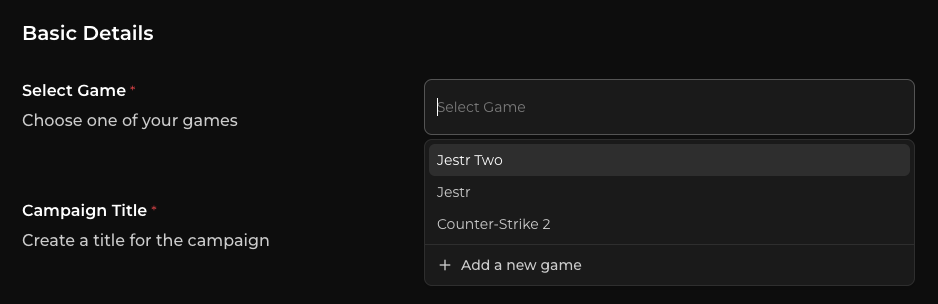
Select your game
Start by selecting the game you want to promote.
Once selected, Jestr can automatically pull available assets and game information from its Steam or IGDB listing, giving you a starting point for your campaign.
If your game hasn't been added to Jestr yet, see Adding a Game.
Campaign details & timing
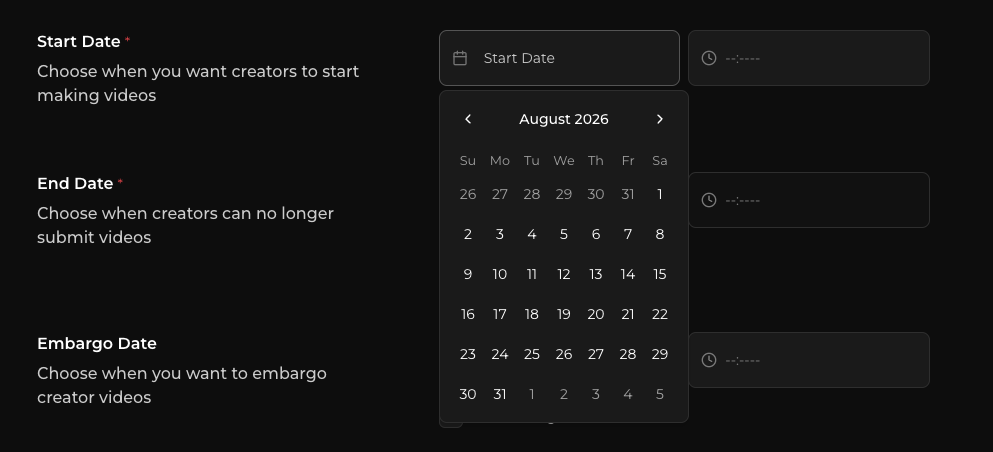
Next, enter the basic details for your campaign, including:
- Campaign title
- Start date
- End date
- Embargo date (if applicable)
These dates determine when your campaign is active and when participating creators are allowed to publish their content.
For a full explanation of how campaign dates and embargoes work, see Campaign Timing & Embargoes.
Choose who can participate
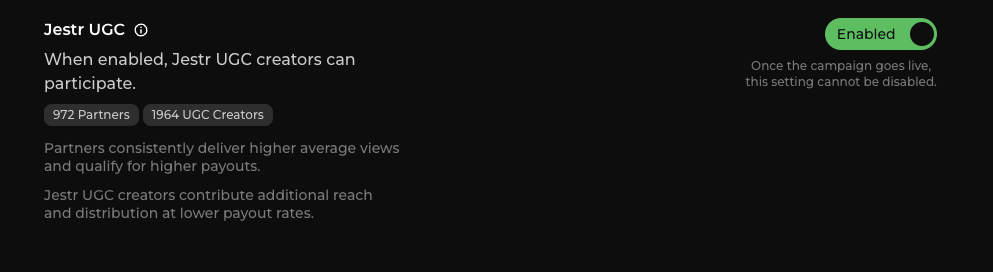
Choose which types of Jestr creators can participate in your campaign.
Depending on your campaign, you can make it available to Jestr Partners only or enable participation from the broader Jestr UGC creator pool as well.
The creator groups you select can affect the types of content, creators, and reach available to your campaign.
Learn more about the differences in Types of Creators.
Set your budget & rewards
Set the total budget you'd like to allocate to the campaign.
During setup, Jestr will show you how your budget is divided between the creator reward pool and Jestr's campaign fee.
You'll also configure:
- Reward Rate
- Maximum payout per creator
- Max submissions per creator
These settings determine how creators are rewarded and how much content an individual creator can submit to the campaign.
For guidance on choosing these values and understanding how campaign spend works, see Budget, CPM & Rewards.
Select your platforms & goals
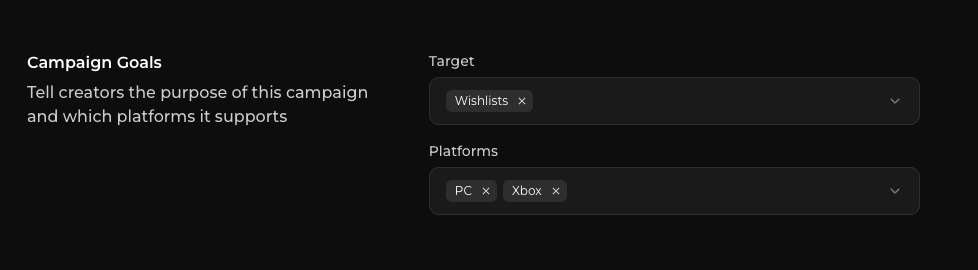
Choose the platforms your game is available on and the primary actions or outcomes you want the campaign to encourage.
For example, a pre-release campaign may focus on driving wishlists, while another campaign may have a different call to action like ramping playtest signups.
Your selections help creators understand what the campaign is trying to accomplish and how their content should direct viewers.
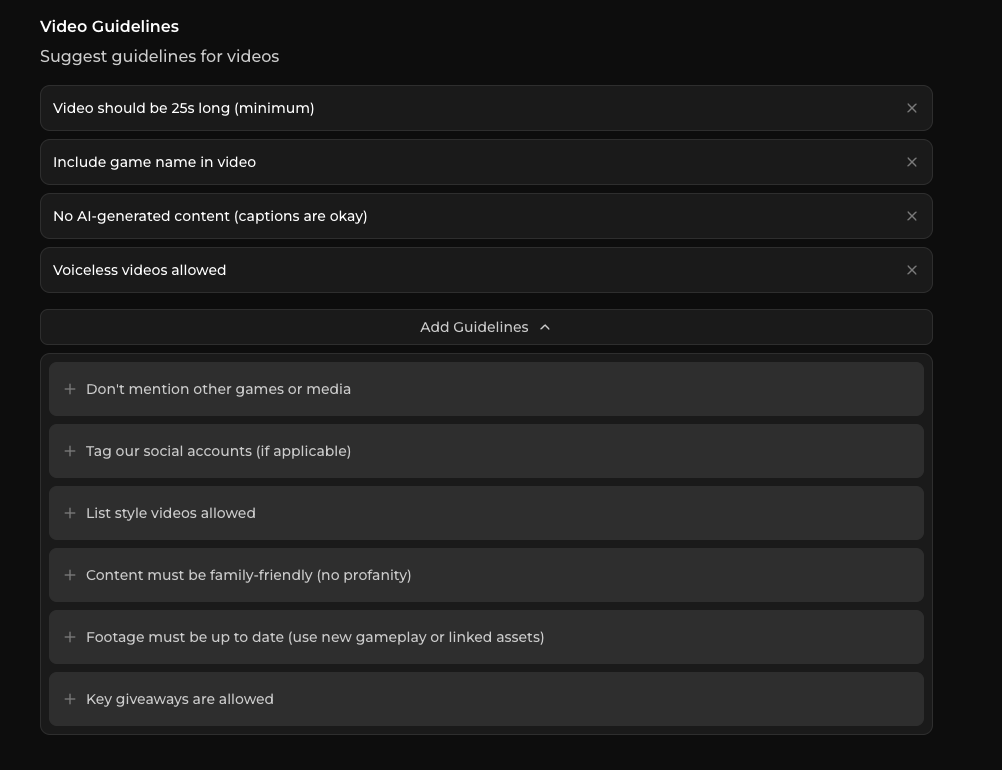
Set your campaign guidelines
Guidelines establish the requirements creators need to follow when participating in your campaign.
During setup, you can select the guidelines that apply to your campaign. Jestr provides a streamlined set of guidelines you can choose from for creators to follow.
You can also provide custom sponsorship disclosure instructions where necessary.
For more information, see Campaign Guidelines.
Add suggested talking points
Talking points give creators useful ideas, features, or moments they may want to highlight in their content.
Talking points are entirely optional for creators. Creators are not required to mention, show, or address any of the talking points you provide. For example, a creator may simply upload a gameplay clip without discussing any suggested talking points, as long as their content follows the campaign's guidelines and other requirements.
Think of talking points as inspiration, not requirements. They should help creators understand what makes your game interesting while still giving them the freedom to create content that feels natural to their audience.
Talking point: "We'd love if you talked about this."
Guideline: "You must do this for the submission to be valid."
Every game benefits from a different approach to talking points, but if you're looking for general advice, check out Writing Better Talking Points.
Add creator resources
Provide any additional resources creators may need to participate in your campaign or create content for your game.
These can include:
- Press kit or shared asset folder
- Studio Discord
- Game access or keys
- Other useful resources or information
Providing these resources upfront gives creators everything they need to get started and reduces unnecessary back-and-forth during the campaign.
If your campaign requires game access, see Keys & Key Requests for more information on providing and distributing keys to creators.
The resources and assets you provide can also have a big impact on the content creators are able to make. For guidance on what to include and how to organize them, see Building Great Asset Packs.
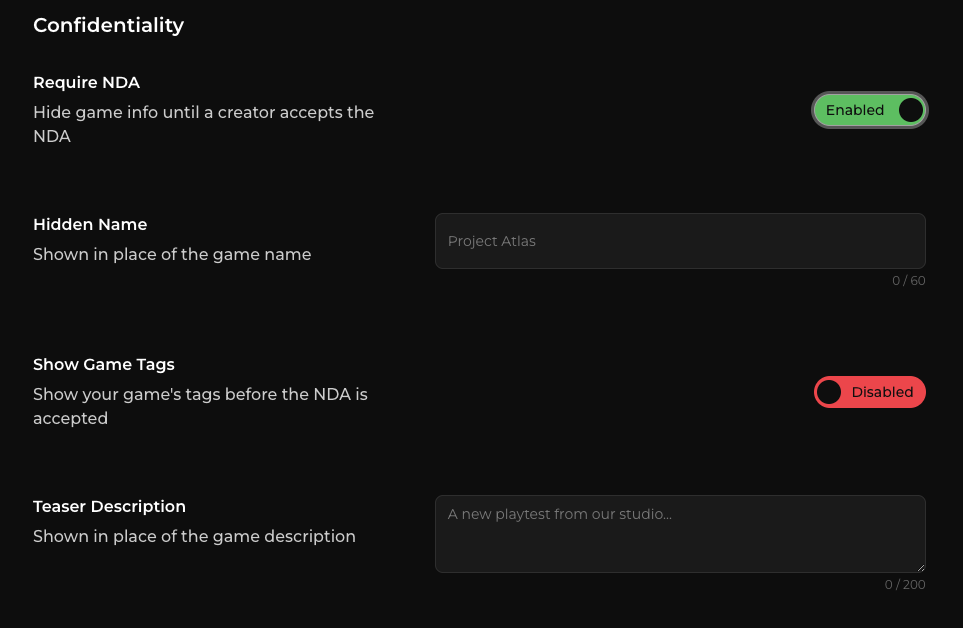
Configure campaign access & visibility
Finally, configure how your campaign is distributed and accessed on Jestr.
You can choose whether to:
- List the campaign publicly on Jestr's home website
- Require creators to sign an NDA before accessing restricted campaign information or assets
- Configure who receives campaign notifications
Not every campaign needs these settings, but they can be useful for campaigns involving unreleased games, confidential information, or specific promotional strategies.
For more information about where campaigns appear and who can access them, see Campaign Visibility.
What happens after setup?
Once your campaign setup and styling are complete, you'll submit your campaign to the Jestr team for review.
We'll review your campaign and leave comments or recommendations where we think changes could help improve its performance or make it easier for creators to participate.
You'll have the opportunity to review our feedback and make any necessary changes before the campaign is launched.
For a full breakdown of the process, see Campaign Review.
Next step: Customize your campaign
Before submitting your campaign for review, you'll move on to Campaign Styling, where you can customize how your campaign appears to creators with your game's branding and visuals.
This step is optional and can be completed quickly.
Continue to Campaign Styling.